
How to get clean 3D prints every time
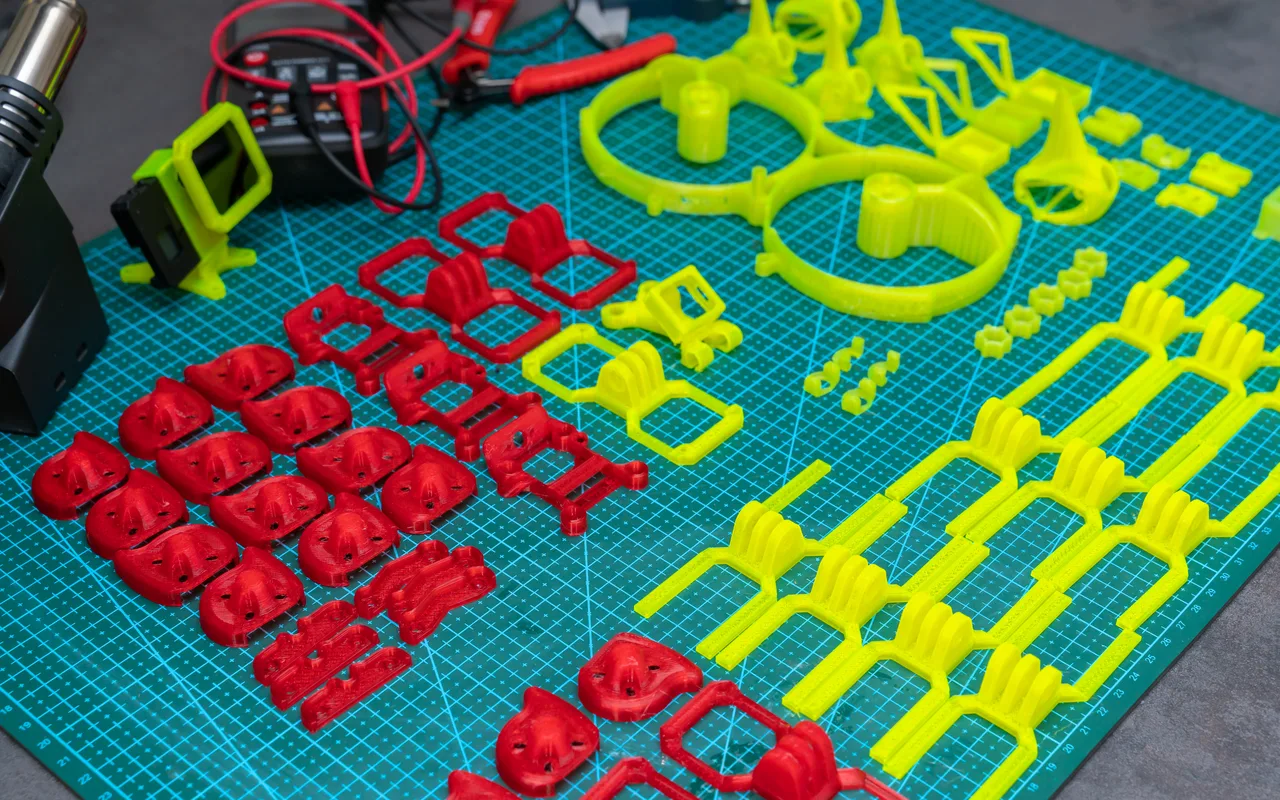
Clean prints come from a small number of settings done right, not from a magic profile. Work through these in order.
1. The first layer decides everything
If the first layer is bad, nothing after it can be good. You want lines that are slightly squashed and touching each other, with no gaps and no ridges being ploughed up by the nozzle. Level the bed, set the nozzle height, clean the plate with dish soap and warm water, and never touch the surface with your fingers. Skin oil is the most common cause of a print letting go halfway through.
2. Dry your filament
If prints suddenly go fuzzy, string badly or the nozzle makes popping sounds, the filament has absorbed moisture. Dry it at around 50 degrees Celsius for PLA and 65 for PETG, for four to six hours, then store it sealed with desiccant. This single step fixes more quality problems than any slicer setting.
3. Stringing and wisps
Those thin hairs between parts come from plastic oozing while the head travels. In order of effect: dry the filament, lower the nozzle temperature by 5 to 10 degrees, increase retraction distance slightly, and enable travel avoidance or combing. Change one thing at a time or you will never know which fixed it.
4. Blobs and zits on the surface
Usually where each layer starts and stops. Turn on seam alignment so the seam hides in a corner, enable coasting or wipe, and slightly reduce flow if walls look over-stuffed.
5. Elephant foot
The bottom layer squashing outward into a lip. Lower the bed temperature a few degrees, raise the nozzle a hair, or use the elephant foot compensation setting your slicer already has.
6. Layer shifts
A print that jumps sideways mid-way. Check belt tension, check nothing is catching the print head, and slow down. Shifts are mechanical, not a settings problem.
7. Overhangs and bridges
Anything past about 45 degrees needs help. Increase part cooling, print slower on overhangs, or add supports. For bridges, more cooling and faster bridge speed usually works better than slower.
8. Moving parts that fuse together
Print-in-place designs need clearance between parts, usually 0.2 to 0.3 mm. If a flexi animal comes out solid, either the model has too little clearance or your flow is set too high. Drop flow by 2 or 3 percent and try again.
9. The finishing pass
Snip stray strings with flush cutters rather than pulling them. Light sanding with 400 grit knocks down a rough seam. A quick pass with a heat gun at distance can flash-melt fine whiskers, but practise on a scrap first because it warps parts fast.
A checklist worth keeping
- Clean plate, level bed, good first layer
- Dry filament, stored sealed
- Right temperature for the material, tested with a temperature tower
- Retraction tuned, one variable at a time
- Adequate part cooling for PLA, less for PETG
- Nozzle replaced when it starts printing badly for no reason